Notes on FreeBSD on MacBook Pro
Introduction
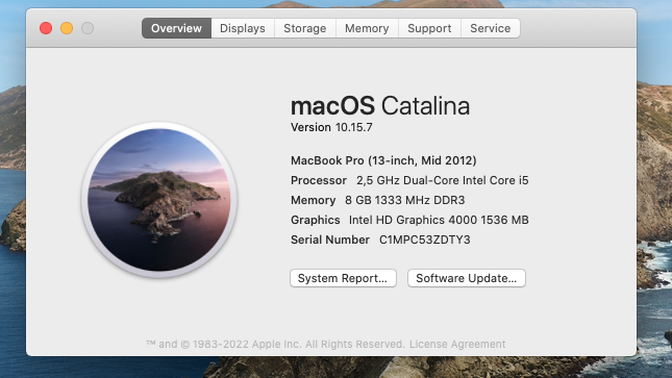
I own a quite old MacBook Pro, Mid-2012 (9,2). Even though, everything went well until the Apple and the other additional package managers including MacPorts, HomeBrew and Nix cease to support the Catalina. Apple also ceased to update the MacOS on my machine. I won’t able to install a version of the MacOS on my machine. Also Xcode won’t be updated. As a result, my machine stuck on the Catalina.
I decided to install FreeBSD which is a aclone of UNIX. MacOS is also a clone of UNIX. There are lots of work to install FreeBSD on a MacBook due to hardware driver. The other option is the Windows. But you can not install Windows 11 due to lack of hardware encryption support (TPM).
In the following sections you can find my experience regarding the installing FreeBSD on a MacBook.
Installation the Base OS
Installing is a straight forward procedure. It can be downloaded required image from the download page of the FreeBSD, then write it into a USB flash drive as follow.
# dd if=/pat-to-downloaded-image of=/path-to-usb-flash-device bs=4m
You need an ethernet connection for networking. To select boot drive, it needs to be press option-key on MacBook.
Im my case, if you try to install into same drive which MacOS installed, the installer permits only UFS. So I would like to try ZFS and I selected another drive to install with the ZFS.
Networking
There is no way to use built-in wi-fi module Broadcom brcm4331 with FreeBSD. At least I could not found one. I use a USB/WiFi module to access internet. Another way is using directly ethernet connection. You can also use a wi-fi extender with an ethernet output.
If you decided to use USB/WiFi module, in my case (this a RaLink module), it needs to be added following lines into the files rc.conf and loader.conf.
# loader.conf
# USB-WiFi
if_run_load="YES"
runfw_load="YES"
# rc.conf
# WiFi
wlans_run0="wlan0"
ifconfig_wlan0="WPA DHCP"
And then run following command
wpa_passphrase SSID PASSWORD >> /etc/wpa_supplicant.conf
After a reboot you will have internet access through USB/Wifi adapter.
Installation Desktop Environment
I choose the XFCE as DE due to I need a lightweight one. But it needs to be done some work with the Xorg before installing the DE.
Install the Xorg as follow.
# pkg install xorg
To install extra support for the backlights for the display and the keyboard run the following line.
# pkg install asmctl
Then add following lines into the files rc.conf and loader.conf.
# loader.conf
# MacBook fixes
asmc_load="YES"
acpi_video_load="YES"
wsp_load="YES"
# rc.conf
# MacBook fixes
kld_list="i915kms"
dbus_enable="YES"
mousd_port="wsp0"
webcamd_enable="YES"
After a reboot for the test Xorg support run the follwing line.
# startx
If everything went well, you can use the TrackPad with multiple gesture including drag and right-click by tapping with two fingers. For using FaceTime camera, it needs to be installed libv4l.
Now we can continue to install the DE with some extras as follow.
# pkg install xfce xfce4-goodies xfce4-power-manager xfce4-pulseaudio-plugin libv4l ungoogled-chromium
If everything went well, we can start the XFCE DE by issueing following command as regular user. By the way the user needs to be belonged the group video.
$ startxfce4
If you would like to use display manager, I recommend the LightDM. I tried tried to use SLIM as a display manager but within the XFCE4, the xfce-terminal won’t respect the bashrc and profile.
We can install the LightDM as follow.
# pkg install lightdm
Then create a file .xinitrc with the following content
# .xinitrc
. /usr/local/etc/xdg/xfce4/xinitrc
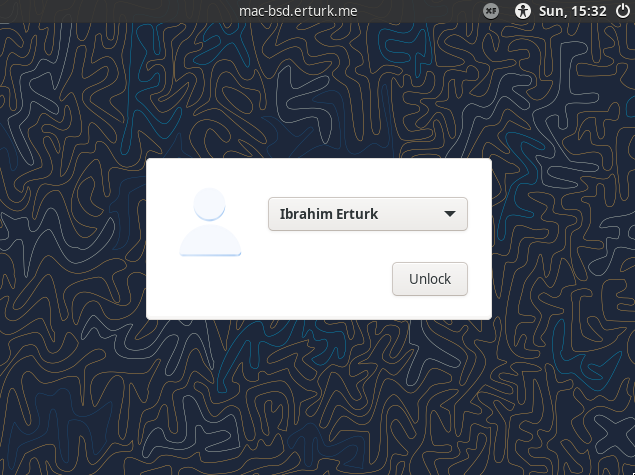
After the reboot you will be greeted by the LightDM.
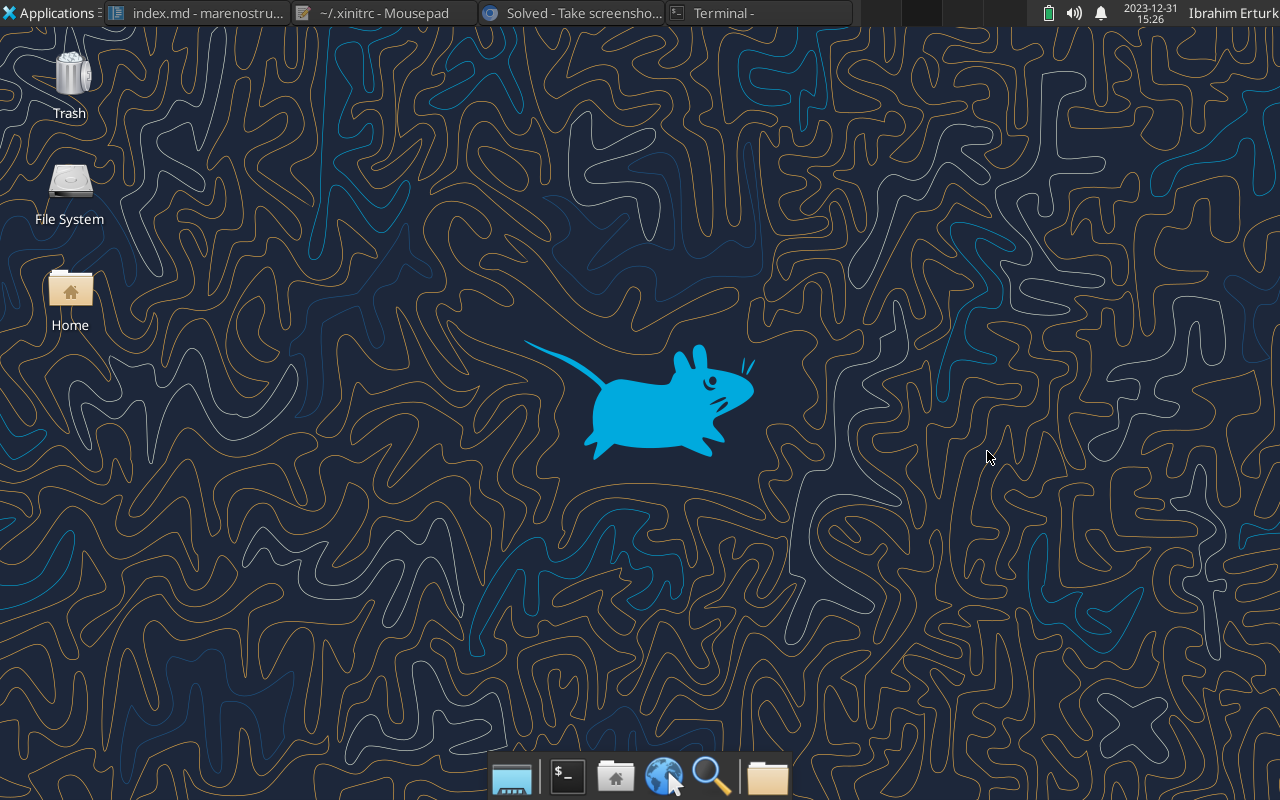
 After logged in, the mouse is here…
Jails and Containers
In FreeBSD, it can be run the FreeBSD itsel, the other BSD distros and theLinux distros without using the VM. It looks like the Docker or Podman container but mor advanced. You can check the documentation. Also there are lots of tools to manage the jails. We choose the Bastille here. To install the Bastille please refer to the getting started documentation. I tried to to run Linux in FreeBSD. It explained in this blog entry, and it just works on my configuration.
My configuration is as follow.
# loader.conf
# bastille configuration
fdescfs_load="YES"
linprocfs_load="YES"
linsysfs_load="YES"
tmpfs_load="YES"
# rc.conf
# bastille configuration
bastille_enable="YES"
bastille_rcorder="YES"
cloned_interfaces="lo1"
ifconfig_lo1_name="bastille0"
linux_enable="YES"
pf_enable="YES"
# pf.conf
# bastille configuration
ext_if="wlan0"

# nat on wlan0 from {192.168.8.0/24} to any -> (wlan0)

set block-policy return
scrub in on $ext_if all fragment reassemble
set skip on lo

table <jails> persist
nat on $ext_if from <jails> to any -> ($ext_if:0)
rdr-anchor "rdr/*"

block in all
pass out quick keep state
antispoof for $ext_if inet
pass in inet proto tcp from any to any port ssh flags S/SA keep state
Virtual Machines - BHYVE
I try to VMs to get work the Wi-Fi module by using PCI Pass-Thru. There is a project on FreeBSD wifibox but it didn’t work on my MacBook. You can refer this discussion for more information. So I decided to use VoidLinux for this purpose. Because the AlpineLinux which is used in the wifibox project removed the b43 drivers.It didn’t fully work but the VM loads correctly the required kernel module. It needs to be worked on IRQs. You can refer the wireless linux kernel document for more information. We can extract the reqired file to work withthe BCM4331 (b43/ucode29_mimo.fw) by using b43-fw-cutter tool.
Anyway the final configs for the VMs as follow. We use the vm-bhyve manager as a tool. It can be installed required packages as follow. You can refer here and here for more information.
# pkg install vm-bhyve grub2-bhyve
# loader.conf
# VM config via bhyve
vmm_load="YES"
nmdm_load="YES"
if_bridge_load="YES"
if_tap_load="YES"
# the passthru pci device
pptdevs="2/0/0"
# rc.conf
vm_enable="YES"
vm_dir="zfs:zroot/bhyve"
# disable to load broadcom driver and kernel modules to use as PCI Pass-Thru
devmatch_enable="YES"
devmatch_blacklist="if_bwi if_bwn"
To access internet from within the guest OS, it needs to be an ethernet connection for the FreeBSD host.
Rust on STM32 on FreeBSD
It can be build and run our project A BSP for STM32F4 Discovery Kit on the FreeBSD. For full setup you can also refer this post. You need to install additional tools to work with the probe-rs and Slint. Rust can be installed straight forward by using the tool rustup. Required tools can be installed as follow
# pkg vscode install pkgconf libftdi1
To build probe-rs with the FTDI support
cargo install probe-rs --features cli,ftdi
To add rust-analyzer support into VSCode
rustup component add rust-analyzer
To build Slint on FreeBSD, it needs to export the location of the file fonts.conf as follow. You can refer fontdb discussion for more information.
export FONTCONFIG_FILE=/usr/local/etc/fonts/fonts.conf.
Or can be defined within VSCode config file settings.json as follow
{
    "rust-analyzer.server.path": "~/.cargo/bin/rust-analyzer",
    "rust-analyzer.cargo.extraEnv": {
        "FONTCONFIG_FILE": "/usr/local/etc/fonts/fonts.conf"
    },
    "terminal.integrated.env.linux": {
        "FONTCONFIG_FILE": "/usr/local/etc/fonts/fonts.conf"
    }
}
To use STLink as a regular user we need extra package. It looks like udev-rules in Linux.
# pkgu install u2f-devd
Add user to the group u2f
pw groupmod u2f -m YourUserNameHere
Config u2f for STLink
# u2f.conf
notify 100 {
	match "system"		"USB";
	match "subsystem"	"DEVICE";
	match "type"		"ATTACH";
	match "vendor"		"0x0483";
	match "product"		"0x3752";
	action "chgrp u2f /dev/$cdev; chmod g+rw /dev/$cdev";
};

attach 100 {
	match "vendor"		"0x0483";
	match "product"		"0x3752";
	action "chgrp u2f /dev/$device-name; chmod g+rw /dev/$device-name";
};
The remaining procedure is the same as on Linux or WSL.
Conclusion
Everything works fine on the FreeBSD except for the Wifi.
I came across notable projects during this works as listed below.
- wifibox - an inspring project
- bastille - a jail manager - looks promising
- ungoogled-chromium - for more privacy
- VoidLinux - looks promising
- raindrop.io - a bookmark manager is your friend during switching between the OSes.
Sharing is Caring!